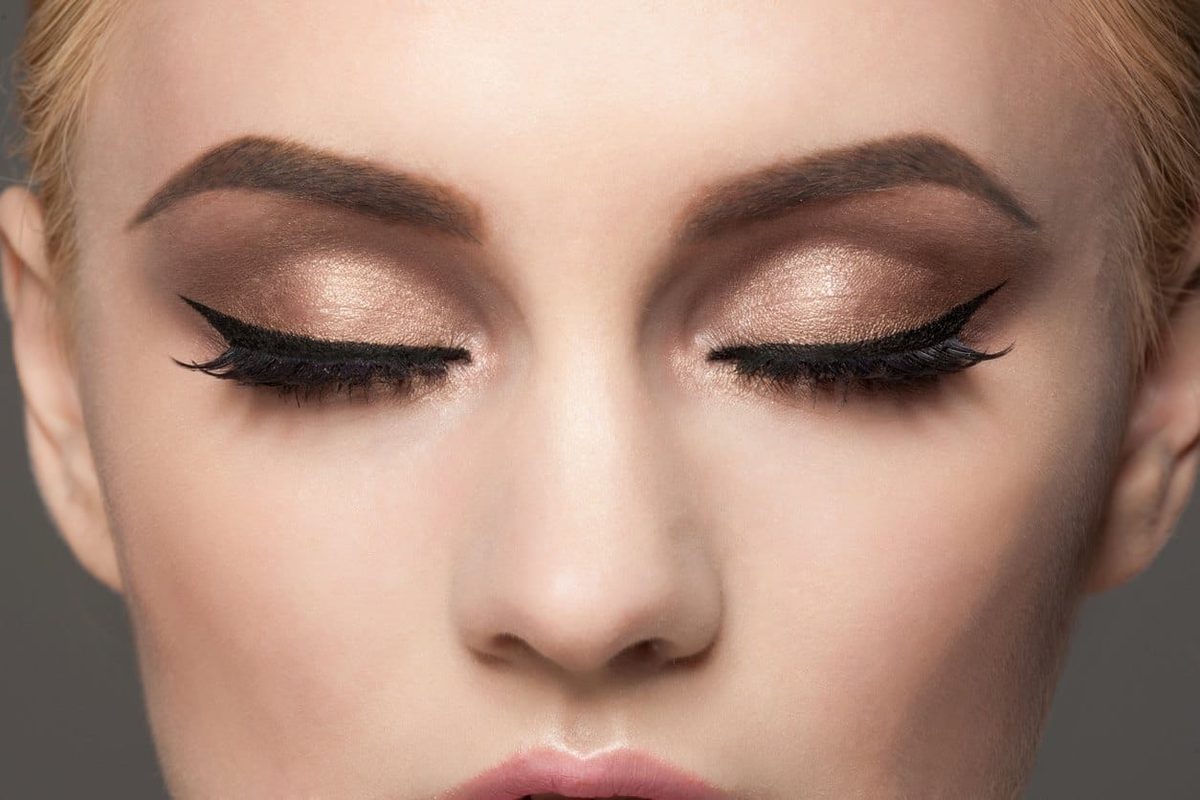
There is a specific kind of frustration that comes with trying to draw a sharp winged liner using a liquid pen. Your hand shakes. The line bleeds. You spend ten minutes trying to fix a smudge that was never there in the first place. Then you see a video on TikTok. The creator dips a clean finger into a pot of gel liner—or even a dark cream shadow—and swipes a wing across their lid. It looks easy. It looks clean. It looks like the kind of trick that shouldn’t work but somehow does.
If you have ever abandoned your makeup bag out of sheer annoyance, this method might be worth a try. It isn’t about giving up on precision. It is about leveraging the warmth and natural oil of your skin to blend a product that is often too stiff for a freehand stroke.
Why Your Finger Works Better Than a Brush
You might think using a finger is unhygienic or imprecise. In the context of gel liner or cream shadows, it is actually the opposite. Brushes have bristles that can split product. Fingers have heat.
The warmth of your fingertip slightly melts the product. This makes it more pliable. When you drag that product across the outer corner of your eye, it adheres to the skin rather than sitting on top of it. The result is a line that is less likely to flake or crack throughout the day. It also allows you to create a gradient effect instantly. You don’t need a separate blending brush to soften the edges. Your finger does that work for you.
How to Execute the Hack Without Messing Up
This isn’t just about dipping your finger and hoping for the best. The technique requires a specific order of operations to keep your look sharp.
- Prep the Lid. Your eyelid needs to be matte. Apply a small amount of eye primer or set your eyeshadow with translucent powder. If your lid is oily or creamy, the gel liner will slide around. You want a dry canvas.
- Choose the Right Product. Liquid pens are generally too fast-drying for this hack. Gel liners in a pot or cream eyeshadows in sticks work best. They have enough slip to be moved but enough pigment to be visible.
- Warm the Product. Dip your ring finger into the pot. The ring finger is traditionally recommended in makeup application because it exerts the least pressure. Rub your finger gently on the back of your hand or your other finger to warm the product and ensure you aren’t grabbing a glob.
- The Swipe. Start at the outer corner of your eye. Press lightly. Drag the product outward and slightly upward. Use a sweeping motion. If you press too hard, you will create a thick, heavy line. The goal is a thin, sharp wing.
- Clean Up. If the line is too thick or messy, take a cotton swab with a tiny bit of makeup remover. Run it along the edge of the wing to sharpen it. This is the secret step. The finger lays down the base; the cotton swab defines the shape.
Which Products Work Best?
Not all eyeliners are created equal. A standard liquid liner with a felt tip is difficult to use with this method. You
You want to master the eyeliner wing in seconds. TikTok creator @bexcxmpbell has a trick that feels almost too simple to be true. Her video has already racked up over five million views. It’s not magic. It’s just finger placement.
Start with a pencil eyeliner in any shade you like.
Dab the tip on your index finger.
Press it against the outer corner of your eye.
Drag it toward your temple.
That’s the entire process. The result is soft. Natural. Slightly blurred in a way that looks intentional rather than messy. It’s perfect for beginners who struggle with steady hands. Or for anyone who’s running late for work.
If you want a sharper line, try this variation. Draw a small line on your upper eyelid first. Then use your finger to stretch it out. The pressure smudges it slightly. This creates a smoky, effortless look without any brushes.
Why Finger Application Works (And When It Doesn’t)
This method is fast. It’s also forgiving. But it has limits.
The main issue is longevity. Finger-applied liner tends to fade faster than ink from a pen or brush. It doesn’t set into the skin as firmly. If you have oily eyelids, you’ll notice the smudge before lunch.
The line is also thicker. You lose precision. If you’re aiming for a razor-sharp cat eye, this isn’t your best move. A fine-tip brush or felt pen gives you control. Your finger is blunt. It spreads product. That’s beautiful for a soft look. It’s frustrating if you want geometric precision.
So, who is this for? Beginners. Rushed moms. People who hate the frustration of a crooked wing. It’s not for professional makeup artists who need a 12-hour hold.
Alternatives for a Quick Finish
If you’re ready to graduate from fingers, try these tools.
Gel eyeliner + angled brush.
Pick a high-quality gel. Use a slim, angled brush. Dip just the tip. Start at the center of your lid. Pull outward. Thicken the tail for a comma shape. This gives you control without the drag of a liquid pen.
Felt-tip liquid liner.
Want defined lines? Go with a felt tip. It’s stiff. It doesn’t bend. It’s easier to draw straight.
Black kohl pencil.
For intensity, use a black kohl pencil. Line from the inner corner to the outer corner. Stick it right at the base of the lashes. Take your time. Clean edges matter here. No smudges.
Mascara.
Finish with mascara. Apply multiple coats. Angle the wand outward. This elongates your eyes. It opens up the look. It complements the liner without competing with it.
Match Your Liner to Your Eye Shape
One size does not fit all. Your eye shape dictates which technique works best.
Tightline.
Draw a thin line right at the waterline. It’s subtle. It makes your lashes look fuller. It’s a trick for sparse lashes.
Classic wing.
Extend your main line into a small wing at the outer corner. This lengthens the eye. It’s discreet. It works for almost everyone.
Bold cat eye.
Best for almond or round eyes. Draw a thick line at the outer corner. It creates a dramatic arch. It’s bold. It’s confident.
C-wing.
Draw a “C” shape instead of a straight line. This lifts drooping eyelids. It also helps with hooded or deep-set eyes. It changes the structure of the eye visually.
Foxy eyes.
Extend the line inward toward the inner corner. Keep it small. This works for round eyes. It also suits wider-set eyes. It changes the angle of your gaze.
Smokey eye.
Use gel liner at the lash line. Blend it with a soft brush. This works for any occasion. Day or night. It’s versatile. It’s forgiving.
You’ve got the finger trick down. You’ve got the tools. You’ve got the shapes.
Now it’s just practice. Sit in front of the mirror. Try the smudge. Try the wing. See what feels right on your face today.